Installation
Once you have registered your project with ChainSafe Gaming and setup an RPC node, you can now begin the process for installing the web3.unity SDK into the Unity3D game engine. We will follow the installation with an example of how to implement a sample web3 login screen.
Installing web3.unity
Install MetaMask
You will need to have MetaMask installed in order to make web3-enabled games. If you already have MetaMask installed, you can skip this section and navigate to the Downloading The SDK section. If you have not installed a web3 wallet, please visit MetaMask for installation instructions.
Downloading The SDK
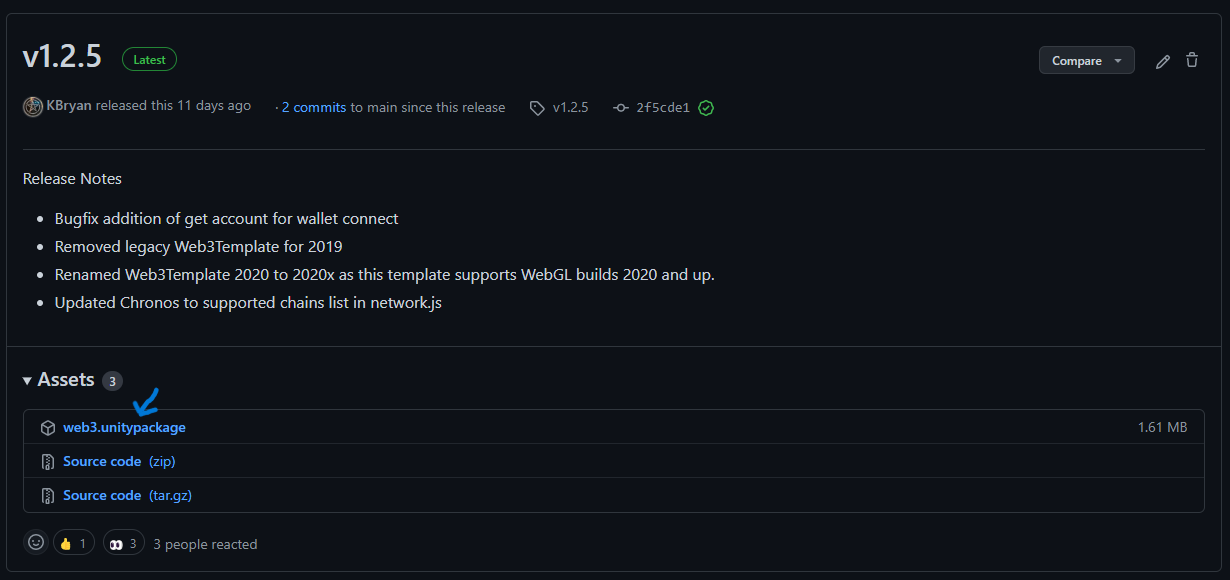
In order to install web3.unity into the Unity3D game engine, you must download the web3.unitypackage file to your computer.
Fetch the latest bundled asset release (web3.unitypackage) via this direct download link. Alternatively, visit the web3.unity release page to locate specific versions, read changelogs, etc.
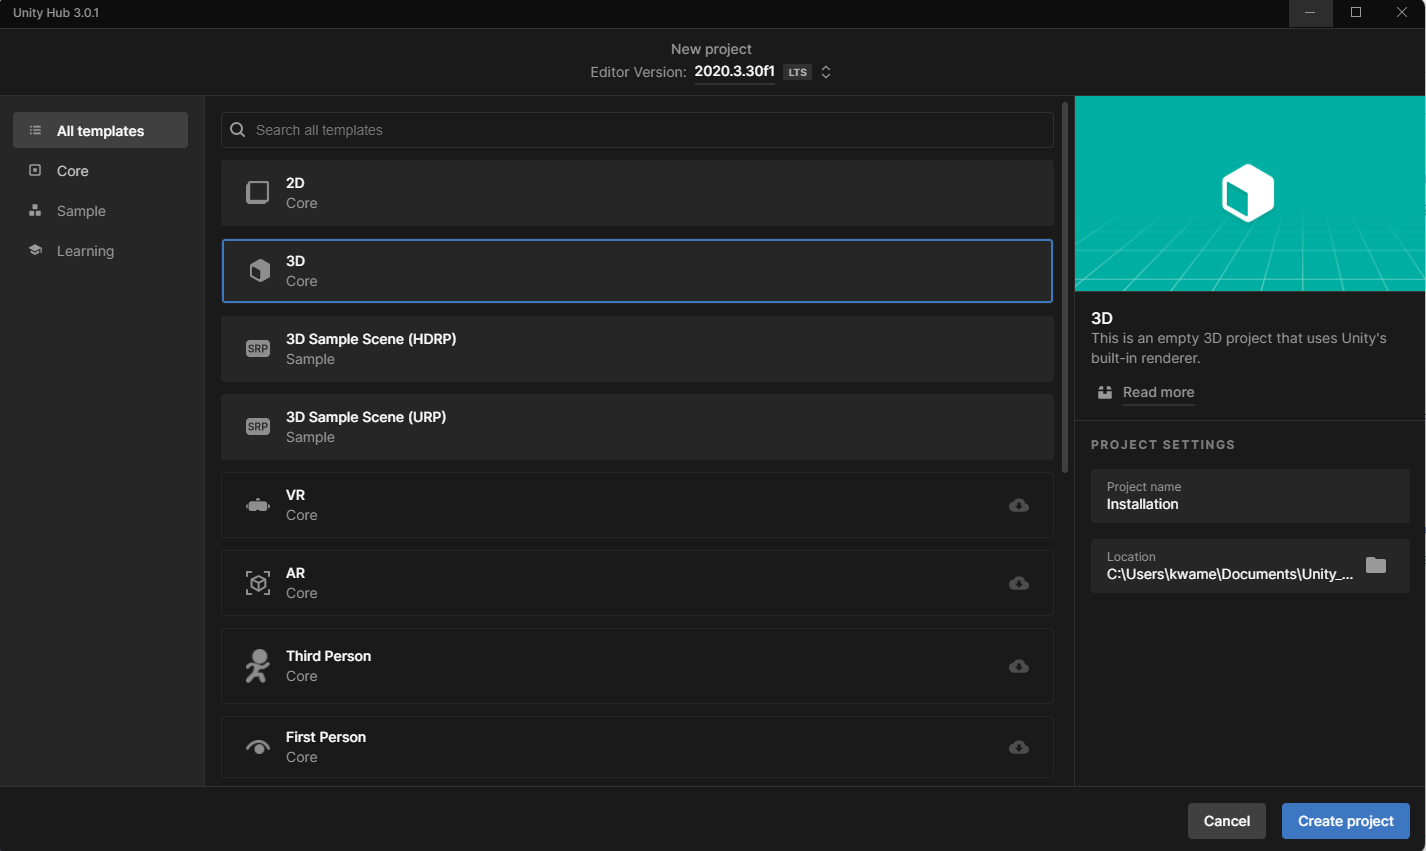
Creating A New Unity3D Project
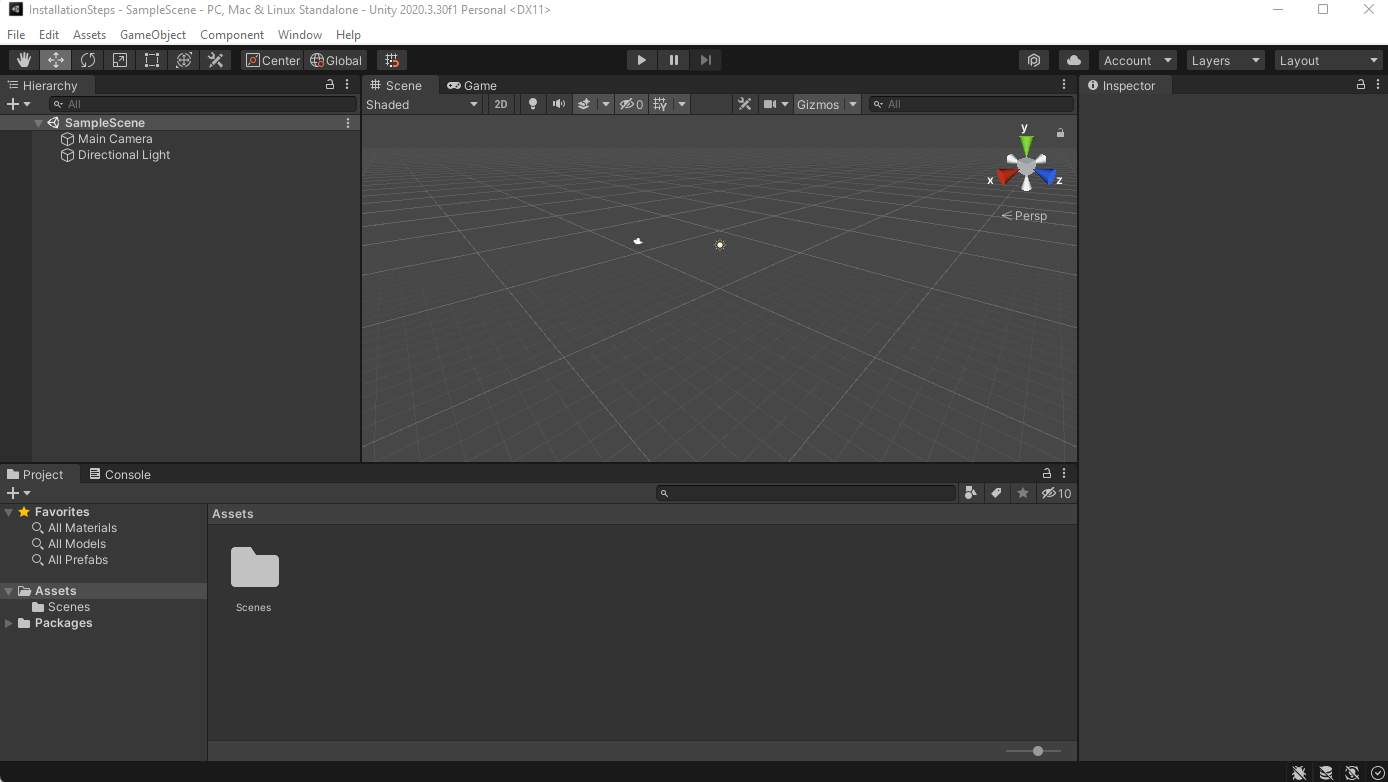
Once you have downloaded the web3.unitypackage bundle to your computer, you will need to create a new Unity3D project. In the following example, we will create an empty 3D project with a 3D scene. However, the web3.unity plugin supports all Unity project types.
Now that we have created a new project and have a clean interface to work with, we can import the SDK into our project. If you see a newtonsoft error you can manually install the package by going to window->package manager->pressing the + button on the top left, pressing add via git url and pasting in "com.unity.nuget.newtonsoft-json@3.0.1".
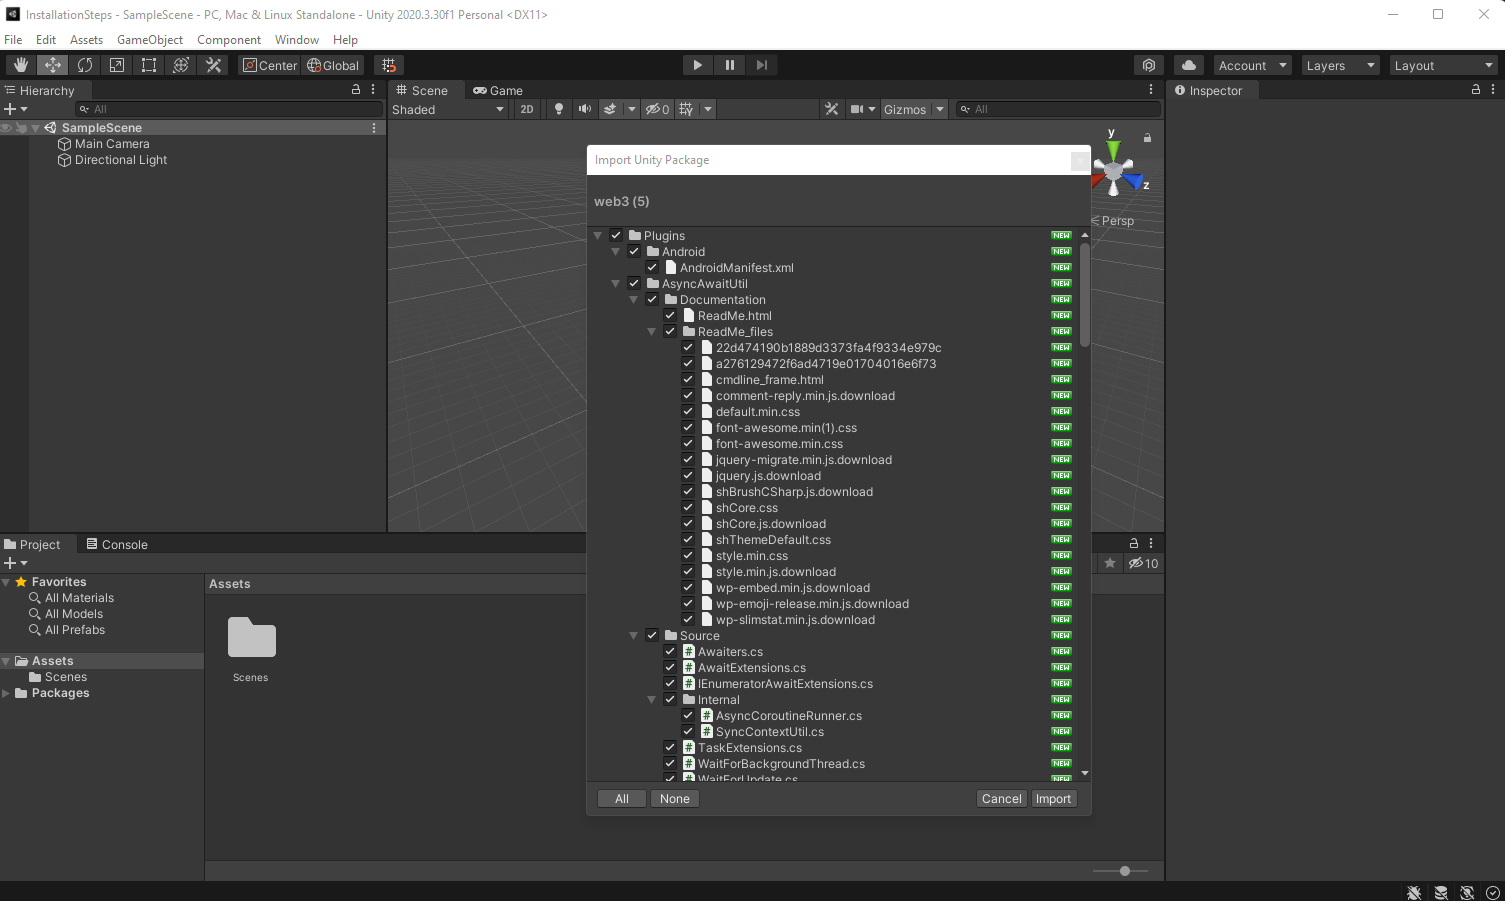
Importing The web3.unity SDK
Now that we have a new Unity3D project, we are ready to install the web3.unity SDK package. Dragging the web3.unitypackage into the Assets directory will bring up the dialogue shown on the screen below. Press the Import button.
If you have followed all of the previous steps to register your project ID and setup your RPC node, you will now be prompted with a dialogue in the Unity engine to enter in the appropriate details.
Building A web3 Login
Building A WebGL Project
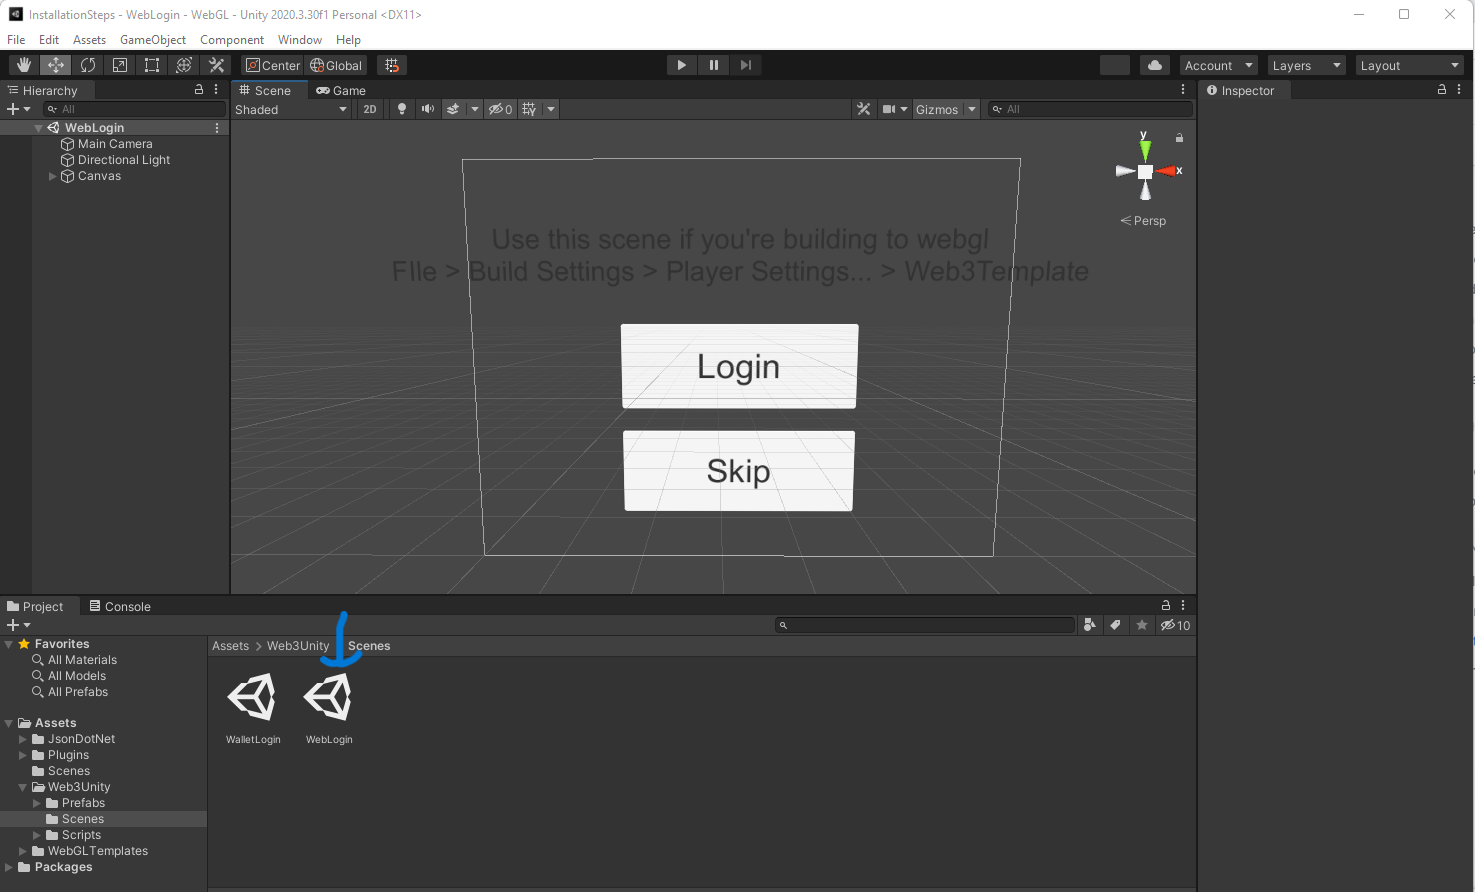
Next, we are going to build out our game scene. We will only add the necessary components to build and connect the SDK to a sample Unity3D scene. The SDK provides a WebLogin scene that connects your web3 wallet to Unity. The is found in the Web3Unity -> Scenes folder. The file is named WebLogin. This is going to be the first scene that game developers will use.
Building Out Our Sample Scene
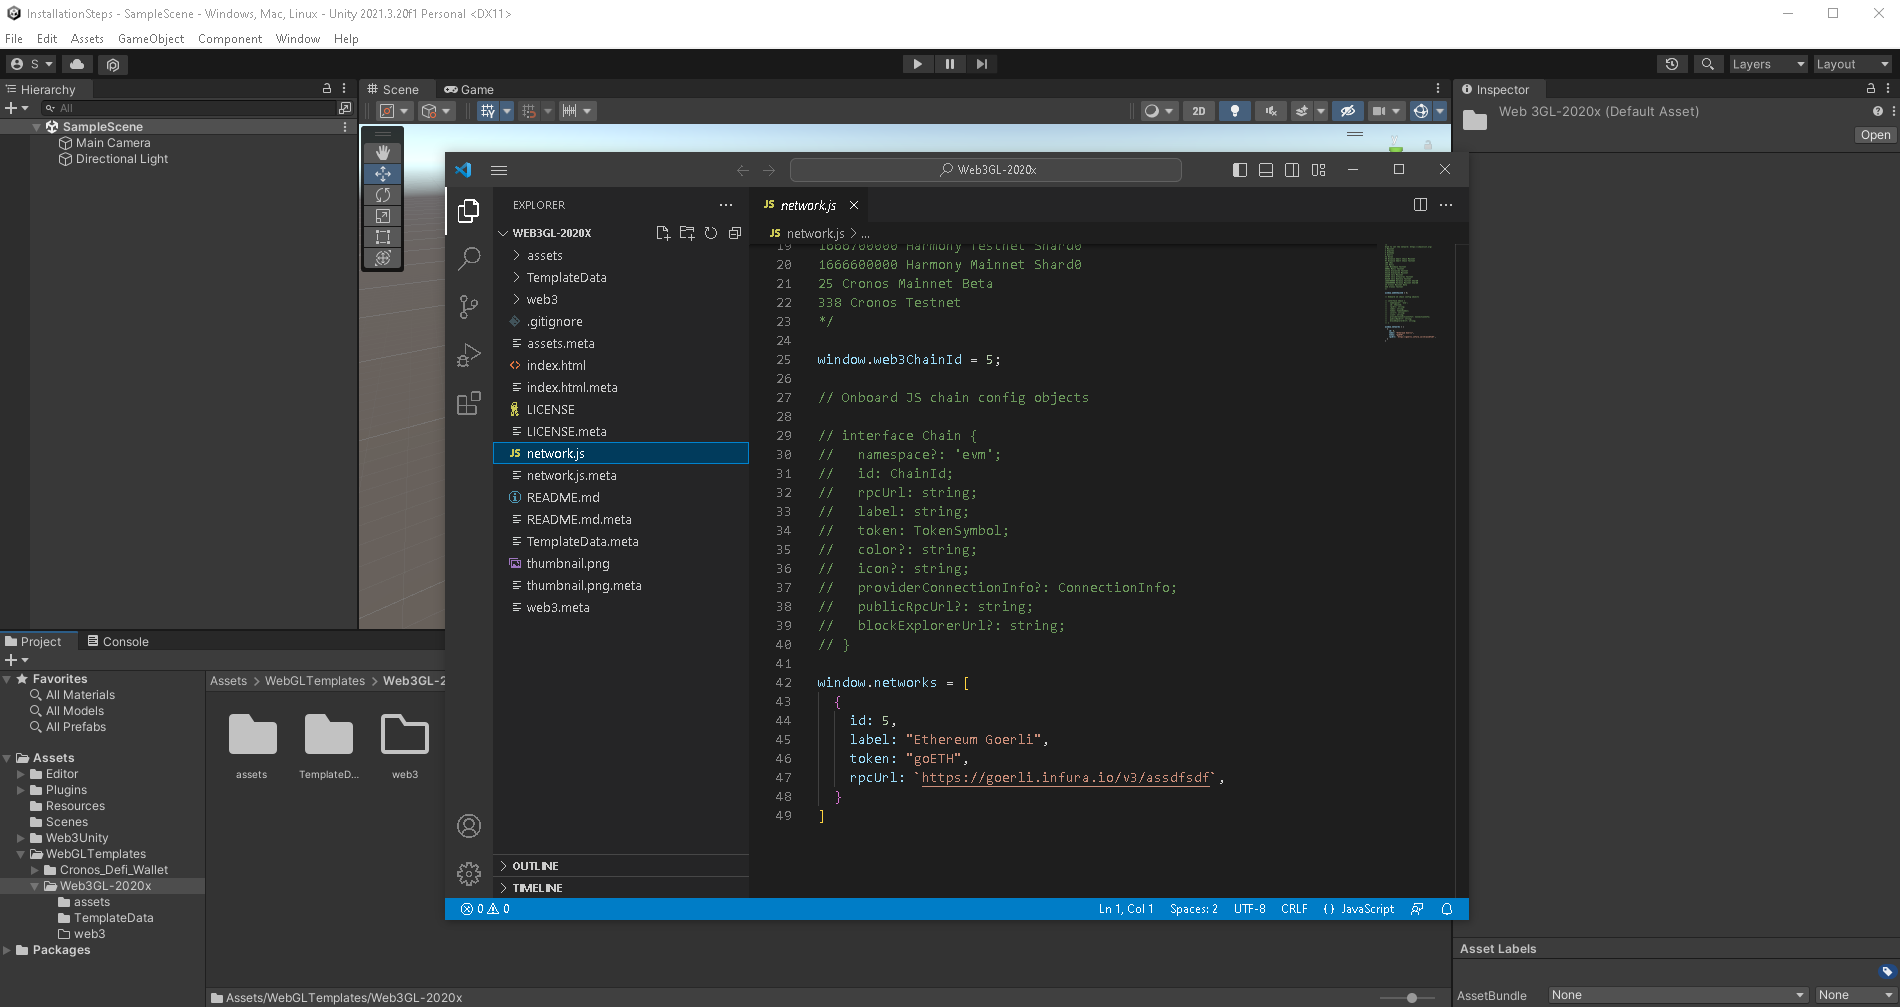
The web3.unity SDK is multi-chain. This means that our SDK can connect to many different versions of the Ethereum Virtual Machine (EVM) on various blockchains. This is an important step that is often missed when deploying your project. To adjust the chain your game connects to, you will need to update a network.js file, which can be found in the file path: WebGL Templates -> Web3GL-2020x -> network.js. Replace the values below with the web3ChainId, id, label, token & rpcUrl of the EVM blockchain you wish to connect to. You can gather this information from Chainlist as needed. The SDK will also detect the network your web3 wallet has selected and will change without you having to configure it.
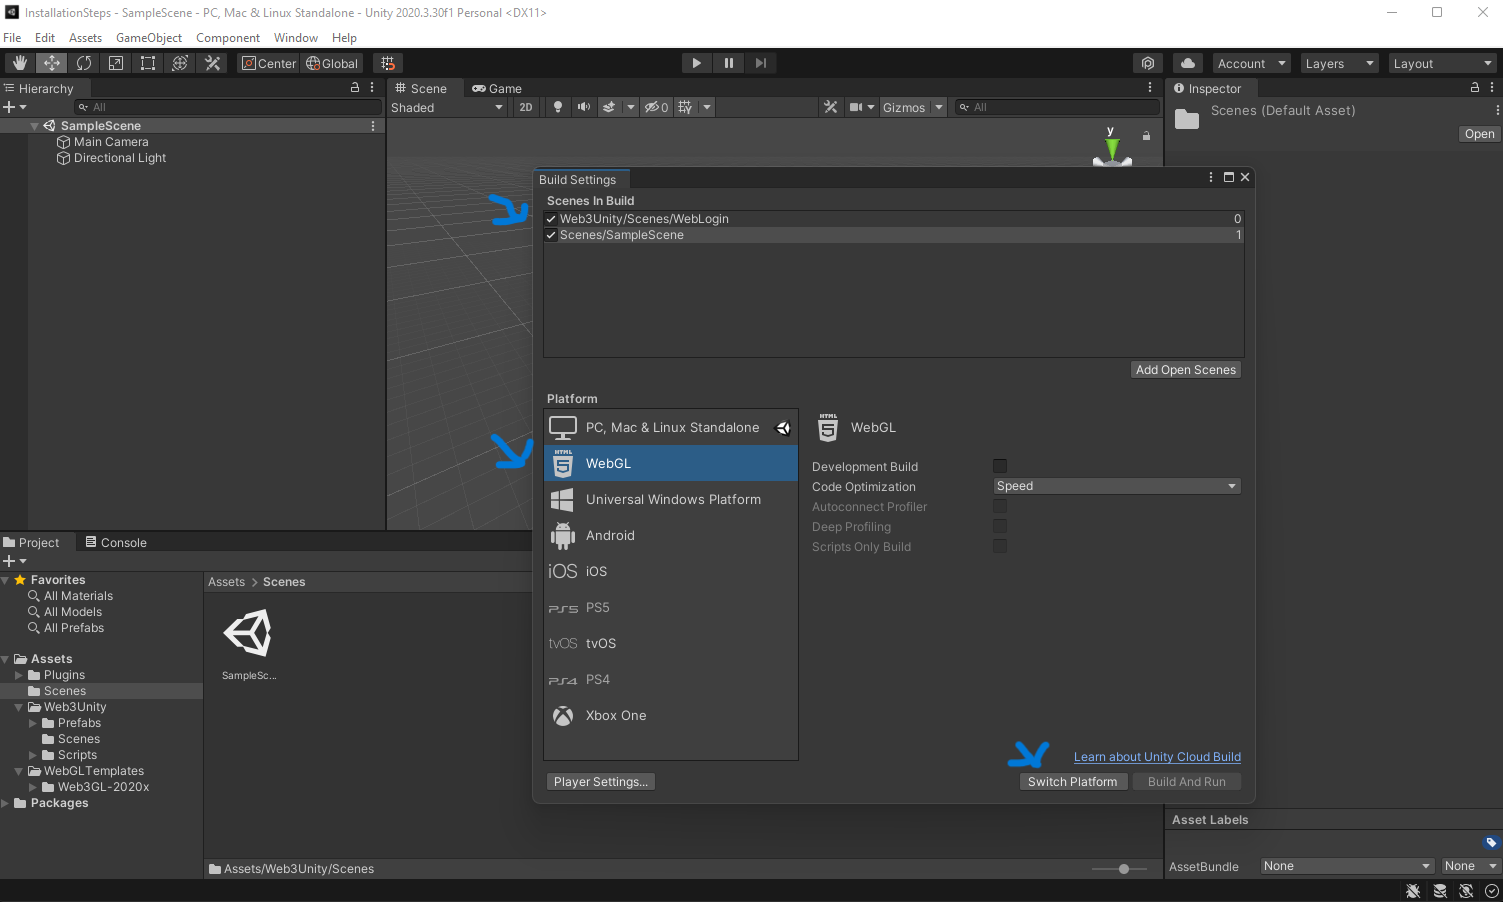
Now, we are ready to build out our sample project. We will use the WebLogin scene and the default scene provided by Unity. It's important to have a second scene as the SDK expects there to be a connecting screen. This is found by clicking File -> Build Settings. You will need to drag & import the WebLogin scene into the first build index. The WebLogin scene is found in the Web3Unity -> Scenes folder.
Make sure the WebLogin scene is in the first index followed by the SampleScene found in the scenes folder provided by Unity3D. At this point, we are also going to need to change our platform to WebGL within Build Settings. Select WebGL and then press Switch Platform.
Connecting The ChainSafe WebGL Template
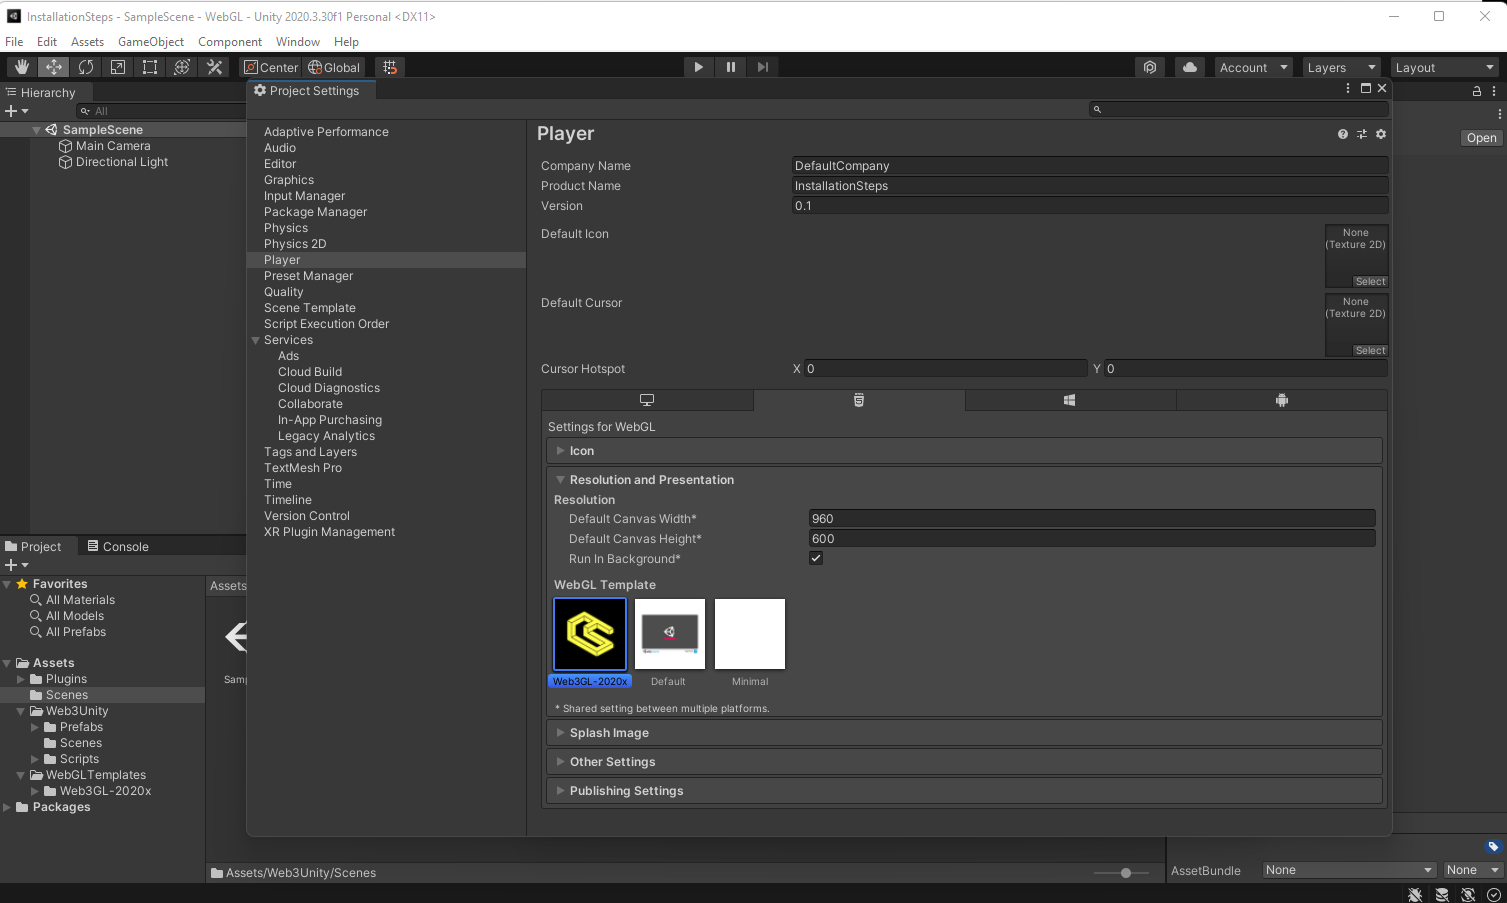
In order to connect the web3.unity SDK to web3, we are going to need to select the custom template provided by the SDK. On selecting the Project Settings and navigating to Player -> Resolution and Presentation, select the Web3GL-2020x template.
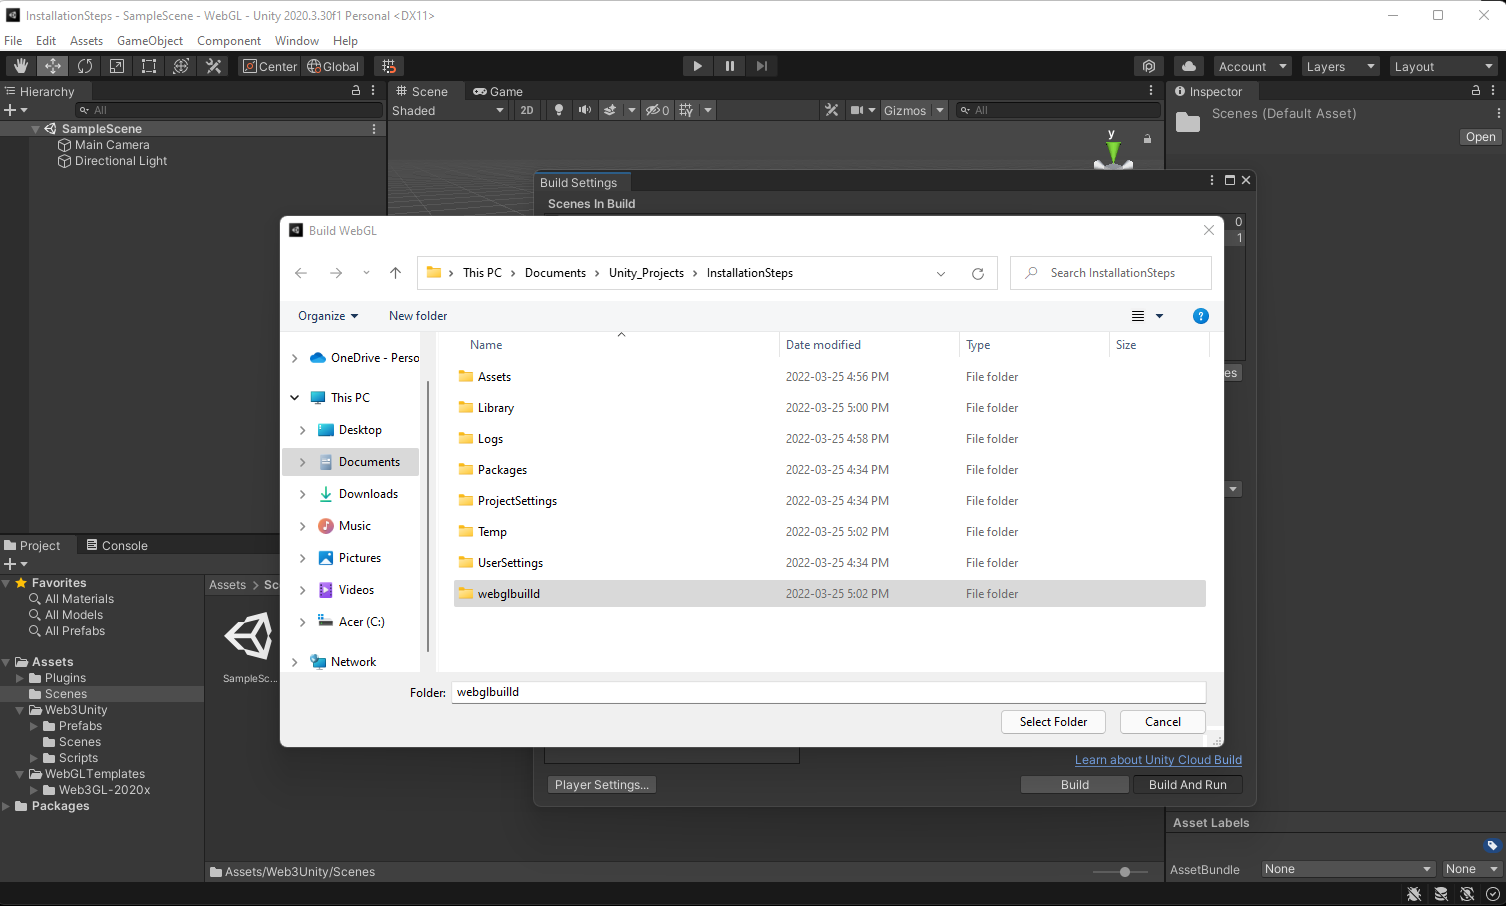
Now, we are ready to build out our project and test it in the browser. This will require us to create a folder for our build. This can be named anything you wish.
Viewing The Project In The Browser
Unity provides a built-in webserver for our Web3GL-enabled games. On selecting the build and run option, Unity will create a built-out project and launch it in your browser. Selecting the login button will prompt the MetaMask wallet extension to open.

After entering your password and selecting an account, the SDK will automatically navigate you to the SampleScene we added to the build index.
![]()
Congratulations
You have successfully installed the web3.unity SDK. We look forward to seeing what you build.
How To Install The ChainSafe Gaming web3.unity SDK Video Tutorial
Here's a tutorial on the complete web3.unity installation flow: