Login Process
This page teaches you how the login process is performed & how the web3 object is being initialized.
Wallet connections are made part of the Web3 object's build process when you log in. Once this build process is complete you'll have an instance and all of its components with their states fully initialized. This makes using the SDK quite simple as most calls will come from this object.
Configuring your Connection Providers
Before you can connect to a wallet, you need to set up your connection providers. You can do this by going to your Web3Unity prefab in your scene hierarchy and look under the Connection Providers drop down in the ConnectionHandler script.
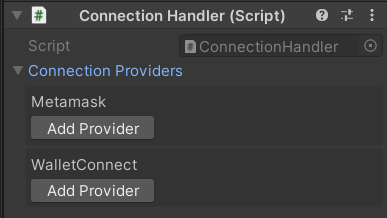
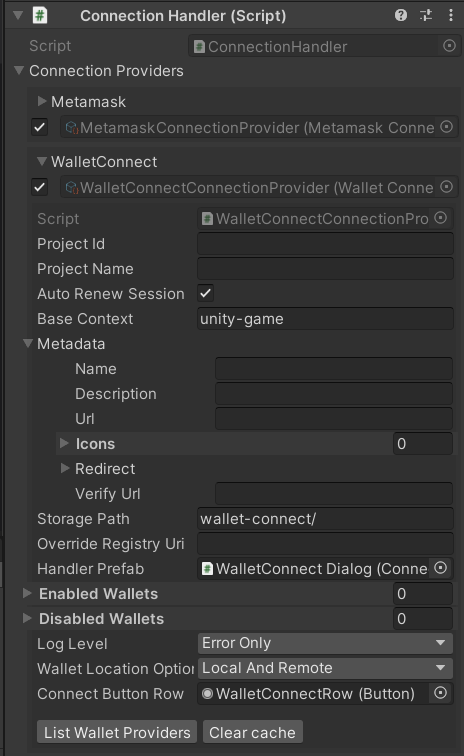
You can add a connection provider of your choice. We currently support Wallet Connect and Metamask in the core package and Web3Auth and HyperPlay as external/add-on packages. Once you've added a connection provider of your choice you can then configure it by further expanding the connection provider. If your connection provider needs further configuration please look here on how to configure it.
Connecting to a Wallet
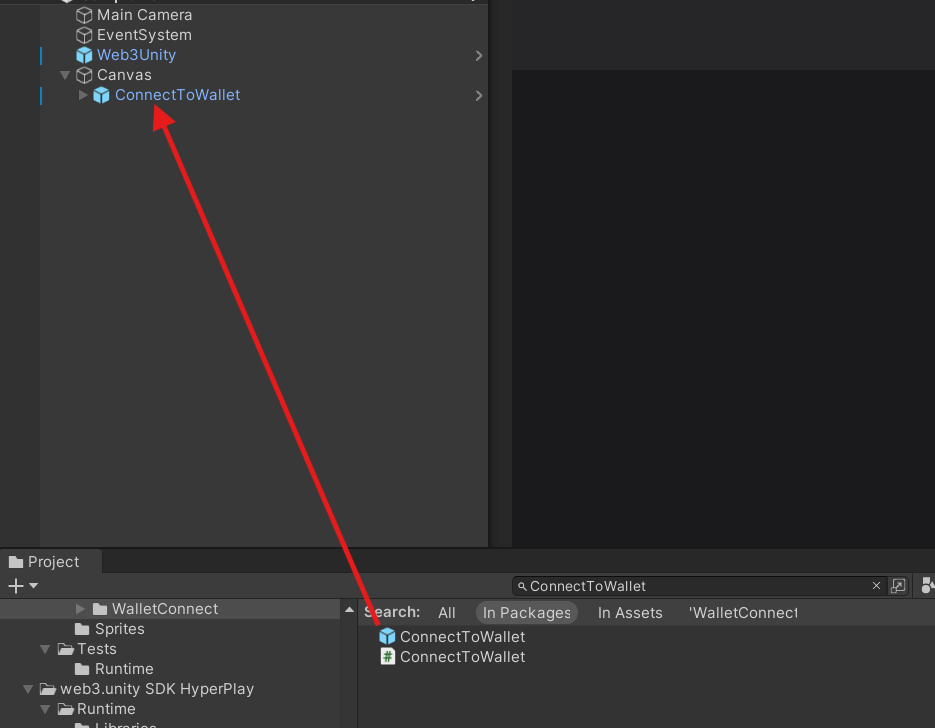
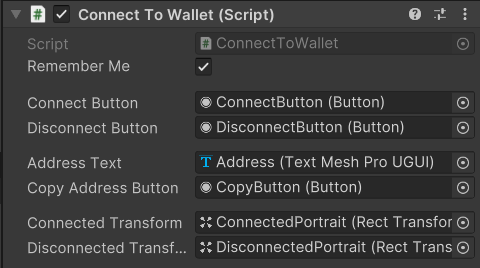
Once you have Configured your connection provider you can drag in ConnectToWallet.prefab found in Packages/io.chainsafe.web3-unity/Runtime/Prefabs/ to connect to a wallet automatically. This prefab has a connect button ready and available that'll initialize building a Web3 object using the connection your choice. You can also use the script ConnectToWallet to make your own connection prefab.
If you would like to connect to a wallet manually, you can follow the steps below.
public class ConnectToWallet : MonoBehaviour
{
    private async void Start()
    {
        await Web3Unity.Instance.Initialize(true);

        await Web3Unity.Instance.Connect<WalletConnectConnectionProvider>();

        if (Web3Unity.Connected)
        {
            Debug.Log("Connected");

            var web3 = Web3Unity.Web3;
        }
    }
}
You can replace WalletConnectConnectionProvider with any other connection provider available, If a connection provider doesn't exist you can also implement your own by inheriting from the ConnectionProvider class. Once connected you can access the instantiated Web3 via Web3Unity.Web3.
Web3Initialized event
Since we wanted to provide you an easy way to figure out when did the web3 instance actually got created, we've added an event that you can subscribe to.
public class SubscribeToWeb3Created : MonoBehaviour
{
    private void Awake()
    {
         //Make sure to subscribe to the Web3Initialized event in awake so that you don't miss out the event invocation.
        Web3Unity.Web3Initialized += Web3Initialized;
    }

    private async void Web3Initialized((Web3 web3, bool isLightweight) obj)
    {
    }

    private void OnDestroy()
    {
        Web3Unity.Web3Initialized -= Web3Initialized;
    }
}
The Web3Initialized event passes in a tuple. The first part of the tuple is the actual Web3 instance that has been created. The boolean parameter isLightweight indicates whether the instance passed as the first parameter is lightweight, meaning it is only used for reading from the blockchain, or if it also has a wallet bound to it. If a wallet is bound, isLightweight will be set to false; otherwise, it will be true.